Subject: Crotch Curve Struggles Solved & Big Sale Inside!

Enjoy a 15% discount on all Sure Fit Designs products from June 27th to 30th. It's the perfect time to complete your collection and continue learning.

(Bundles have built in discount)

Mastering the Perfect Fit: Innovative Crotch Curve Solution


Achieving a perfect fit in garment construction is often challenging, particularly when refining the crotch curve. This article will explore a crotch curve adjustment method for drafting your pants sloper and adjusting any commercial pants pattern. This article is limited to crotch curve drafting of a nearly finished pants sloper or a commercial pattern that requires adjusting the crotch curve.


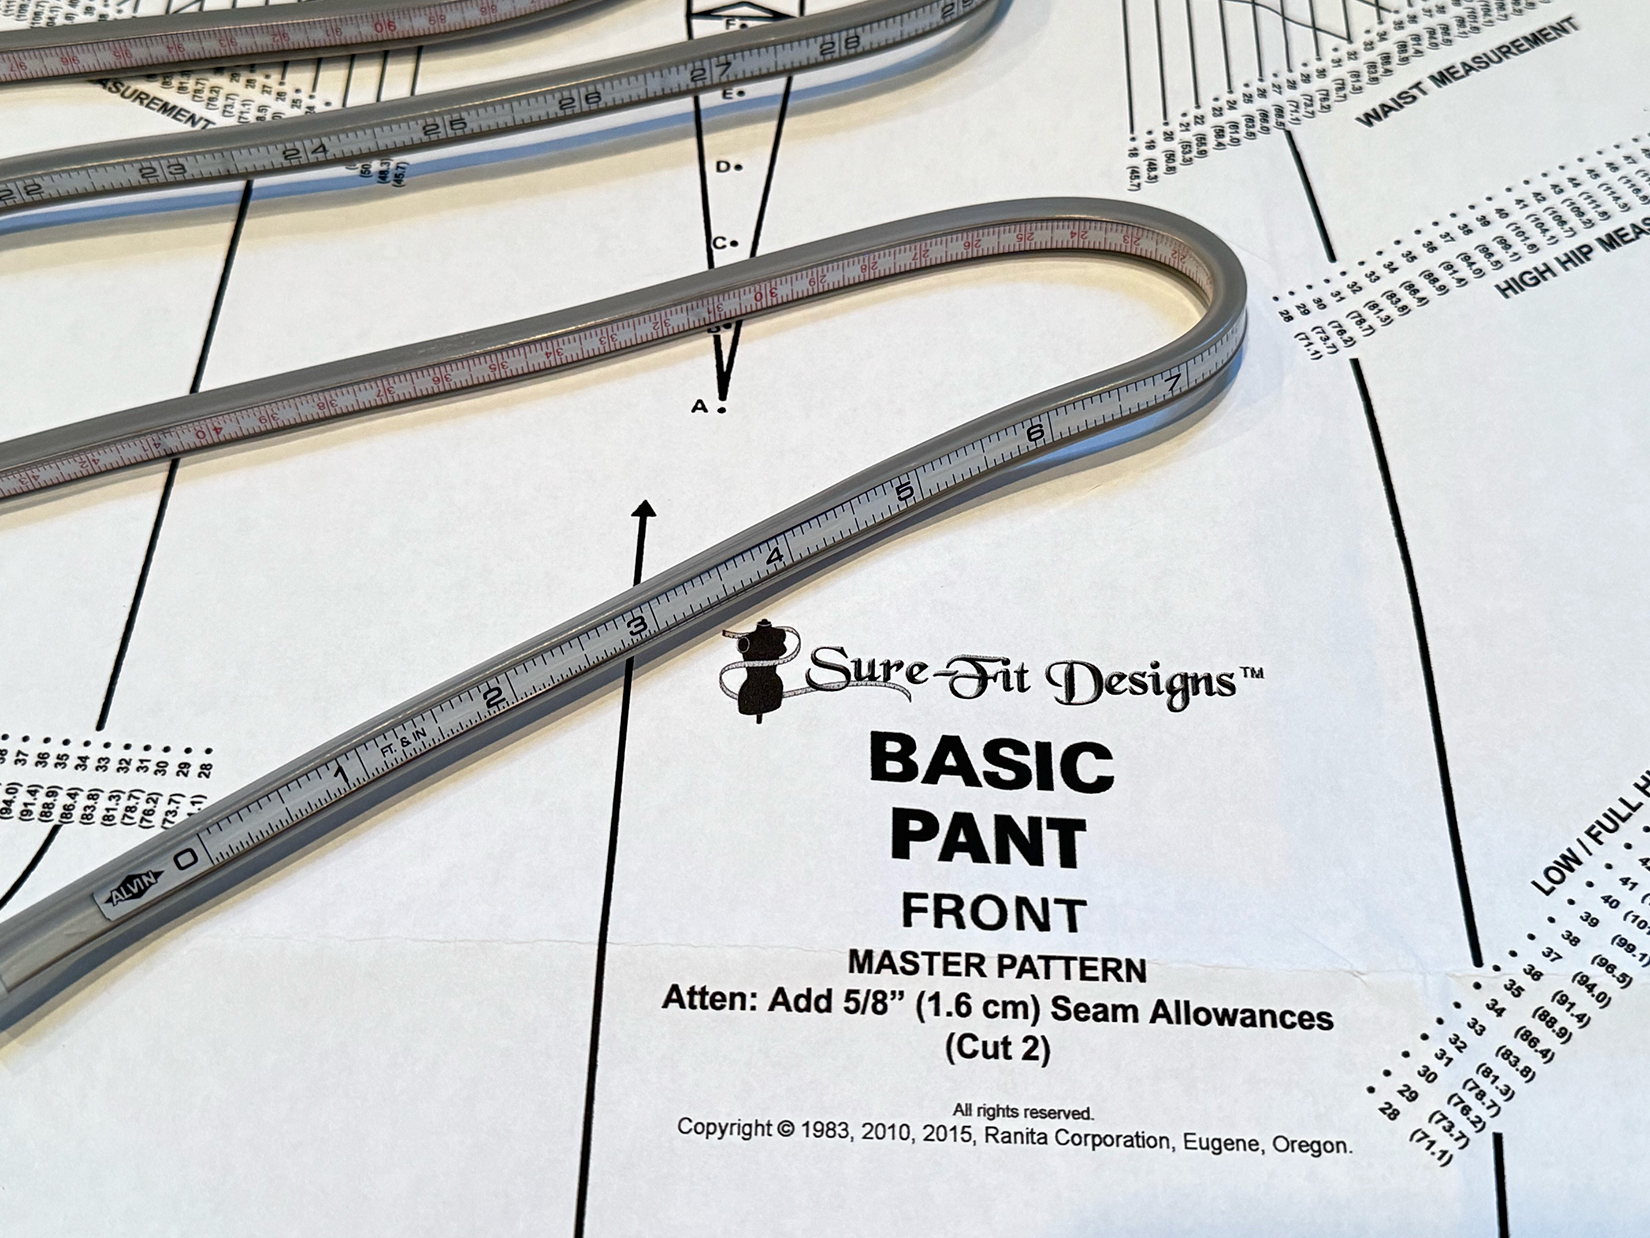
For this project, you will need your pants sloper or commercial pattern, additional vellum tracing paper, a cutting mat, elastic for your waist and hips, measuring tape, mirror, five #45 o-rings or small rubber bands, and a flex curve ruler, about 40 inches in length. After testing several flex curve rulers, the Alvin Truflex II Flexible Curve is the top choice I recommend.

Position your pants sloper on the cutting mat, aligning the crotch points just aligning the inseam with tape for several inches down. Eventually, they will overlap each other. Secure your sloper to the mat and place a piece of tracing vellum over the crotch curve area. Slide five small O-rings or rubber bands onto your flexible curve ruler at the approximate locations of your waist, front and back, hips, and inseam.

Begin by wearing a pair of yoga pants or tights, ideally with an inseam, ensuring they provide ample support for your buttocks to prevent the flex curve from sliding up and altering your silhouette. Secure an elastic around your waist and hips, then measure the span from your waist to your hip. Position the flex curve between your legs, shaping it to conform to your body from the front waist, down across your hip to your inseam, and then up to the back waist. Adjust the o-rings to align with the elastic at the front and back of your waist, the front and back of your hip, and your inseam. Look in the mirror to fine-tune the placement of the flex curve and o-rings until satisfied. Carefully tilt the flex curve from your waist to the floor horizontally, maintain its shape, and step out of it.

Position your shaped flex curve on the pants sloper, aligning the inseam o-ring with the taped inseam, ensuring that the hip and waist o-rings are horizontal to one another. Confirm the placement using the grids on your cutting mat. Measure the waist and hip o-rings to ensure they match your measurements. Draw a horizontal line across the hips and a vertical line at a 90-degree angle down to the inseam. Trace the inside of your shape onto your sloper to complete your crotch curve adjustment.

Here is the final adjustment to the crotch curve, with the front of the pants on the right and the back on the left. I enjoyed working on this project and I hope that this tutorial will become a useful resource in your pattern alteration toolbox, alleviating many crotch curve challenges.


Credit for content of this article goes to Judith Rasband, Fitting and Pattern Alteration 4th Edition.

If you've made it to the end of the article, you deserve a reward. June 27-30 our Pant Fitting Course is just $35! (Regular price $59.95)

Thank you for being a part of the Sure Fit Designs community. Wishing you joy and inspiration in every stitch! So many exciting things are coming your way...

Janine


Powered by:
GetResponse