| | | Friend
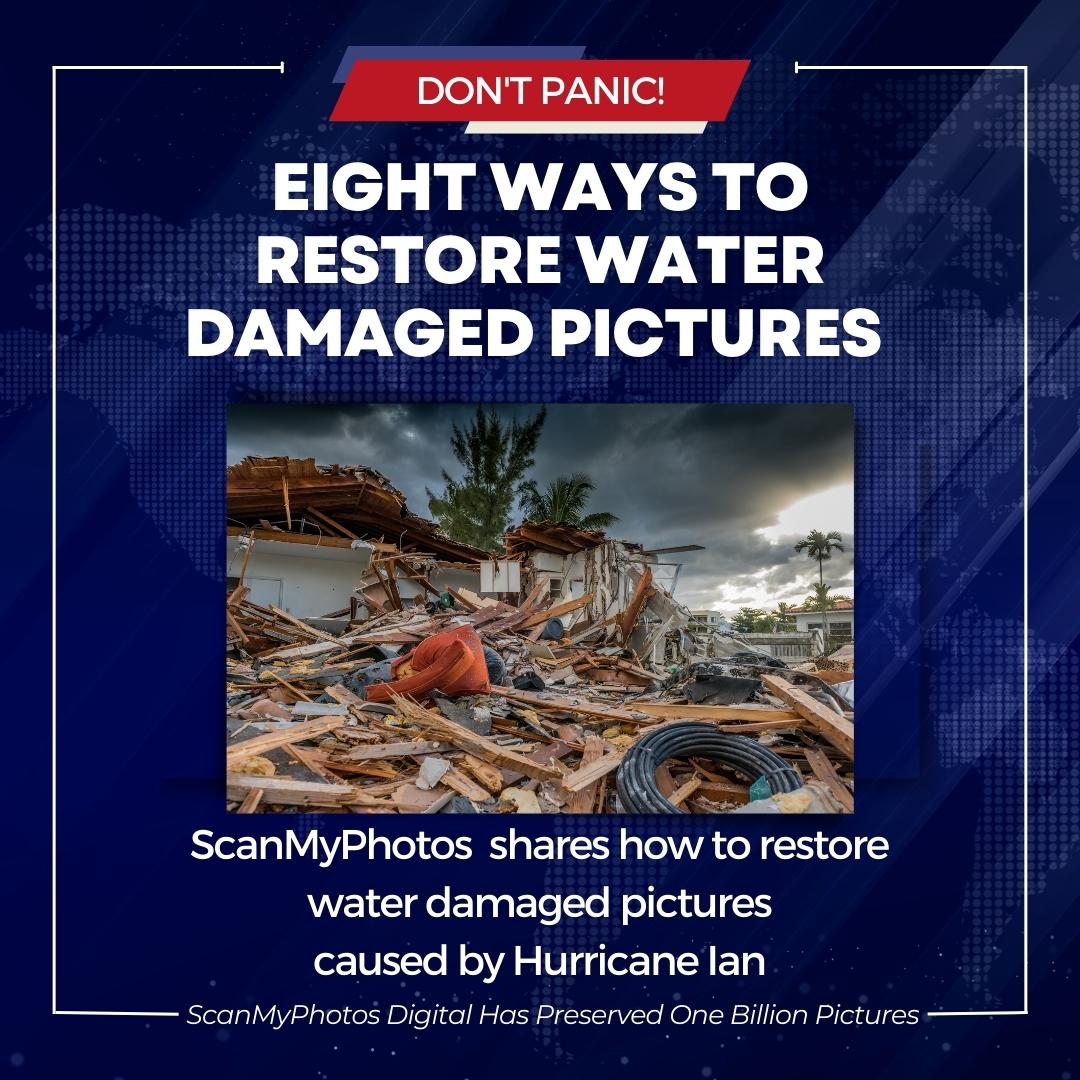
A typical photo restoration request we get is how to fix water-damaged pictures.
Water damage is fixable -- whether from humidity, hurricane storm surges, or severe contact with water. Whether your house was flooded or caught fire, your prized photos have probably suffered from water damage. The first rule for handling water-damaged photos is Don’t Panic! You may be able to salvage many or all of your pictures. | | Natural disasters keep occurring, like this story profiled on The Weather Channel after Hurricane Sandy. | | | 8 TIPS TO FIX WATER-DAMAGED PICTURES Don’t let the photos dry out! As your photographs dry, they will stick to each other and any other materials they may contact. You’ll find it impossible to pull them apart without causing irreparable damage.
Get to work as soon as possible. Your photographs shouldn’t stay wet for more than two or three days. Afterward, digitize everything, including your archives of 35mm slides, film negatives, and home movie film.
While working on your photos, store them in cold, clean tap water; the colder, the better. Don’t add chlorine to the water, but change the water every day. The chlorine in tap water is enough to prevent the growth of fungi and other biological threats.
Rinse your photos in a container of cold, clear running water. Don’t run the water directly onto the photos because that could damage the chemical emulsion, causing permanent damage. Keep rinsing them until the run-off water is clear.
Carefully remove your photographs or negatives from the water, taking the smallest quantity possible. Pull them out of their wrappers and gently separate them. DO NOT FORCE THEM APART. Separate as many as possible before returning them to the cold water and starting on another batch. Repeat the separate-soak cycle as many times as necessary. However, sometimes you may be unable to separate materials without forcing the issue. In those cases, you will probably have to accept the corresponding damage.
Once your materials are separated, store them in water until you can wash them individually, using cold, clean running water. Use cotton balls, a soft cotton cloth, or a soft foam rubber brush to remove foreign objects if needed. Rinse your photographs or negatives one more time after cleaning is complete.
Hang-dry prints and negatives from a clothesline. Make sure they will not be exposed to dust. As an option, special solutions are available that facilitate uniform, spot-free drying when applied to negatives and slides. Use towels and place heavy items, like books, on top to eliminate curls.
If your pictures curl while drying, wet the paper side (NOT the emulsion!) with a moist sponge, place each one between two pieces of acid-free paper or photo blotters, and leave them under a heavy, flat object for a day or two.
| | |
|
|